Is your Ottawa roof currently leaking? Contact Our 24/7 Emergency Team Now or Call 613 851 4448!
As Ottawa homeowners know all too well, our unique climate presents specific challenges when it comes to roof maintenance and repair. From heavy snow loads in winter to spring thaws and summer storms, Ottawa roofs face year-round challenges that can lead to unexpected leaks and damage.
This comprehensive guide will help you understand common causes of roof leaks in Ottawa, how to identify them, and when to seek professional help.
Understanding Roof Leaks in Ottawa’s Climate

Ottawa’s distinct seasonal changes make our roofs particularly vulnerable to damage. With annual snowfall averaging over 223 cm and temperatures ranging from -30°C in winter to +30°C in summer weather, your roof constantly expands, contracts, and bears heavy loads. These extreme conditions can create various entry points for water, leading to leaks that require immediate attention.
Why Immediate Action is Crucial
When it comes to deciding what to do with roof leaks in Ottawa, time is of the essence. What might seem like a minor drip today can lead to:
- Structural damage to your home’s framework
- Growth of harmful mould and mildew
- Decreased energy efficiency
- Compromised insulation
- Deterioration of electrical systems
- Reduced property value
Common Causes of Roof Leaks in Ottawa
1. Ice Dam Formation
A particularly common issue in Ottawa winters, ice dams form when heat escaping from your home melts snow on the roof. This water refreezes at the eaves, creating a barrier that prevents proper drainage. Signs of ice dam problems include:
- Icicles forming along your eaves
- Water stains on interior ceilings
- Peeling paint near exterior walls
- Damp insulation in your attic
2. Flashing Failures
Roof flashing is critical in our climate, particularly around:
- Chimneys and vents
- Skylights
- Dormers and roof valleys
- Wall-to-roof transitions
Ottawa’s freeze-thaw cycles can cause flashing to separate from surfaces, creating entry points for water. Professional inspection of these areas is crucial for preventing leaks.
3. Storm Damage
Ottawa experiences significant storms throughout the year, from summer thunderstorms to winter blizzards. Common storm-related issues include:
- Missing or damaged shingles
- Punctures from falling branches
- Damaged soffit and fascia
- Clogged or damaged gutters and downspouts
4. Age-Related Deterioration
Most asphalt shingle roofs in Ottawa last 15-25 years, depending on the quality of materials and installation. Signs your roof may be reaching the end of its life include:
- Curling or buckling shingles
- Granules in gutters
- Daylight visible through roof boards
- Sagging roof deck
Professional Roof Leak Repair Services in Ottawa
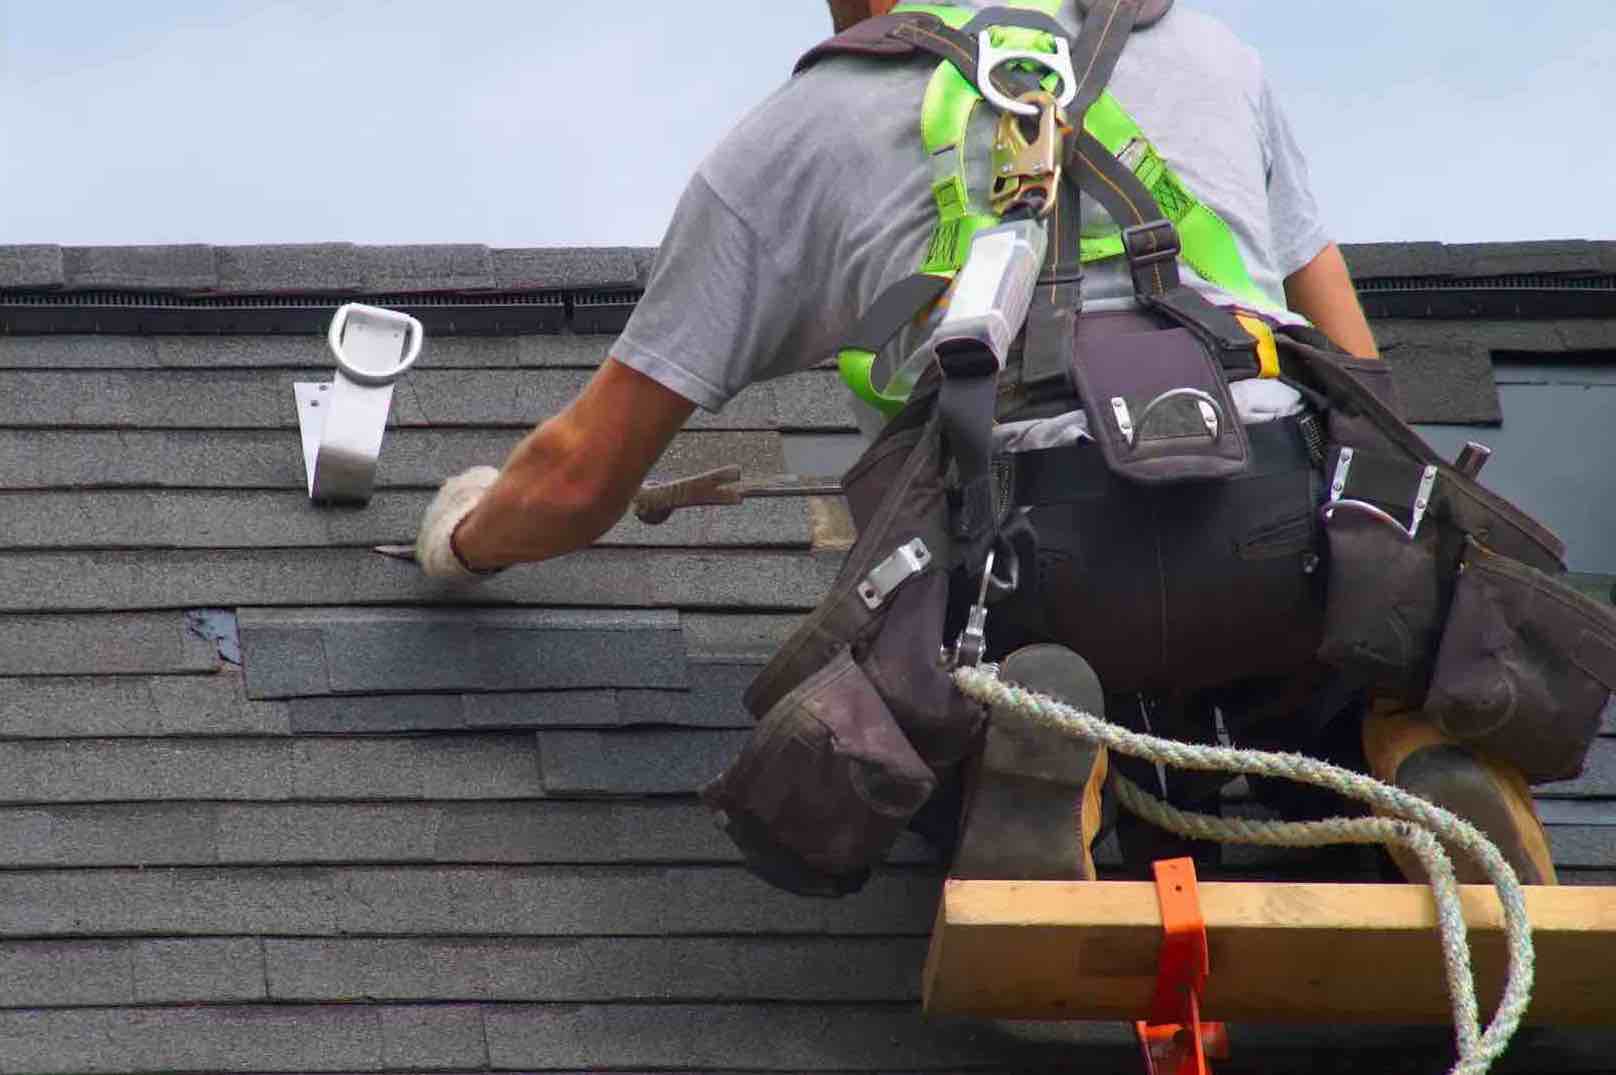
When it comes to roof leaks in Ottawa, professional repair services offer the expertise and local knowledge needed to address our unique roofing challenges.
Professional roofers bring not only technical skills but also extensive experience with the specific types of roofing systems common in our region, ensuring repairs are done right the first time and built to withstand Ottawa’s demanding climate.
What to Expect During a Professional Assessment
A professional roof inspection is much more than a quick visual check. Ottawa’s experienced roofing contractors follow a systematic approach to identify not just obvious leaks, but also potential problems that could lead to future issues.
This comprehensive evaluation is especially important given our region’s freeze-thaw cycles and heavy snowfall, which can create hidden damage that’s not visible from the ground.
The assessment process typically takes 1-2 hours for an average-sized home, and you’ll receive a detailed report of all findings to help you make informed decisions about repairs.
A thorough roof inspection by an Ottawa roofing professional typically includes:
- External roof examination
- Attic inspection
- Interior ceiling and wall assessment
- Gutter and drainage system evaluation
- Detailed documentation of findings
- Written repair recommendations and estimates
Common Repair Solutions
The right repair solution for your Ottawa home depends on various factors, including the type of damage, your roof’s age, and the urgency of the situation.
From quick emergency fixes to comprehensive long-term solutions, each repair method is selected based on its effectiveness for your specific situation and its ability to prevent future issues.
Understanding these common repair approaches can help you better discuss options with your roofing contractor and make informed decisions about your roof’s maintenance.
Emergency Temporary Repairs
For immediate leak control during Ottawa’s harsh weather:
- Temporary tarping
- Emergency patching
- Water diversion solutions
Permanent Repair Options
Based on the type and extent of damage:
- Shingle replacement or repair
- Flashing repair or replacement
- Ice dam prevention solutions
- Ventilation improvements
- Gutter system repairs
Cost Considerations for Roof Repairs in Ottawa
Understanding the costs associated with roof repairs in Ottawa helps homeowners make informed decisions and plan their maintenance budgets effectively.
Repair costs can vary significantly based on several key factors, and what might seem like a simple fix could reveal additional issues once work begins.
Ottawa’s weather conditions also play a crucial role in pricing, as winter repairs often require special considerations and safety measures.
While it’s natural to seek the most cost-effective solution, investing in quality repairs using durable materials suited to our climate often provides better long-term value and helps prevent recurring issues.
Factors Affecting Repair Costs
- Extent and location of damage
- Required materials
- Accessibility of the repair area
- Season and weather conditions
- Urgency of repairs
Typical Price Ranges
- Minor repairs: $250-$400
- Moderate repairs: $400-$1,000
- Major repairs: $1,000-$3,000
- Emergency service fees: Additional $100-$200
Preventing Future Roof Leaks
Year-Round Maintenance Tips
- Spring:
- Clear winter debris
- Check for winter damage
- Clean gutters and downspouts
- Summer:
- Inspect for storm damage
- Check ventilation
- Address any minor repairs
- Fall:
- Clear leaves and debris
- Check and secure flashings
- Inspect attic insulation
- Winter:
- Monitor ice dam formation
- Clear heavy snow accumulation
- Watch for interior warning signs
Professional Maintenance Programs
Many Ottawa roofing companies offer annual maintenance programs including:
- Bi-annual inspections
- Gutter cleaning
- Minor repairs
- Documentation for warranty purposes
When to Replace Instead of Repair
While repairs can effectively address many roofing issues, there comes a point when replacement becomes the more practical and cost-effective solution. Ottawa homeowners often face this crucial decision during our harsh winters or after discovering extensive damage.
Making the right choice between repair and replacement can save you thousands of dollars in the long run and prevent recurring issues.
A full roof replacement, though initially more expensive, often provides better long-term value and peace of mind compared to continuous repairs of an aging or severely damaged roof.
Consider a full Ottawa roof replacement when:
- Your roof is over 20 years old
- Repairs would cost more than 30% of replacement
- Multiple leaks are occurring
- Structural issues are present
- Energy bills are consistently rising
Choosing a Qualified Ottawa Roofing Contractor
Selecting the right roofing contractor in Ottawa is crucial for ensuring long-lasting repairs and protecting your investment. With our extreme weather conditions and unique architectural challenges, not all contractors are equally equipped to handle Ottawa’s roofing needs.
The right contractor should not only have technical expertise but also understand local building codes, weather patterns, and common roofing issues specific to our region.
Before hiring any roofing company, take time to verify their credentials and reputation in the Ottawa community.
Key Qualifications to Look For
- Licensed and insured in Ontario
- Member of roofing associations
- Extensive experience with Ottawa climate
- Positive local reviews and references
- Written warranties on work
- Emergency service availability
Protect Your Ottawa Home with Expert Roof Repair
Don’t wait until water damage compromises your home’s structure and safety. A small leak today can lead to extensive damage tomorrow, potentially costing thousands in repairs. As the most trusted Ottawa roofing company, Vanity Roofing provides:
Emergency Response Services
- 24/7 emergency leak repair
- Rapid response team available throughout Ottawa and surrounding areas
- Immediate temporary solutions to prevent further damage
- Comprehensive assessment of the damage
Professional Expertise
- Over 50 years of collective experience in Ottawa’s unique climate
- Fully licensed and insured technicians
- Specialized knowledge of local building codes and requirements
- Advanced leak detection technology
Quality Guarantee
- Industry-leading workmanship warranty
- Manufacturer-certified installations
- Premium materials built for Ottawa’s climate
- Detailed documentation of all repairs
Comprehensive Service Options
- Free initial roof inspections
- Detailed written estimates
- Preventive maintenance programs
- Long-term roofing solutions
Take Action Today
Don’t let a leaking roof put your biggest investment at risk. Contact Vanity Roofing for a free roof repair estimate now to protect your home and ensure your peace of mind.
Proudly serving homeowners throughout:
- Ottawa
- Kanata
- Orleans
- Nepean
- Barrhaven
- Stittsville
- And surrounding communities


